Why Sewing is like Coding - Debugging
Whether I’m at a keyboard or behind my sewing machine, I spend most of my time not in the act of creating, but in the act of fixing. Debugging, testing, twea...
Whether I’m at a keyboard or behind my sewing machine, I spend most of my time not in the act of creating, but in the act of fixing. Debugging, testing, tweaking…that’s the real work, whether it’s in code or thread.
Yesterday, I was trying to get my serger to work. Mine uses up to 4 threads and gives me more professional stitches. If you look at the inner edge seams on a shirt or pair of pants, you’ll know what I’m talking about.
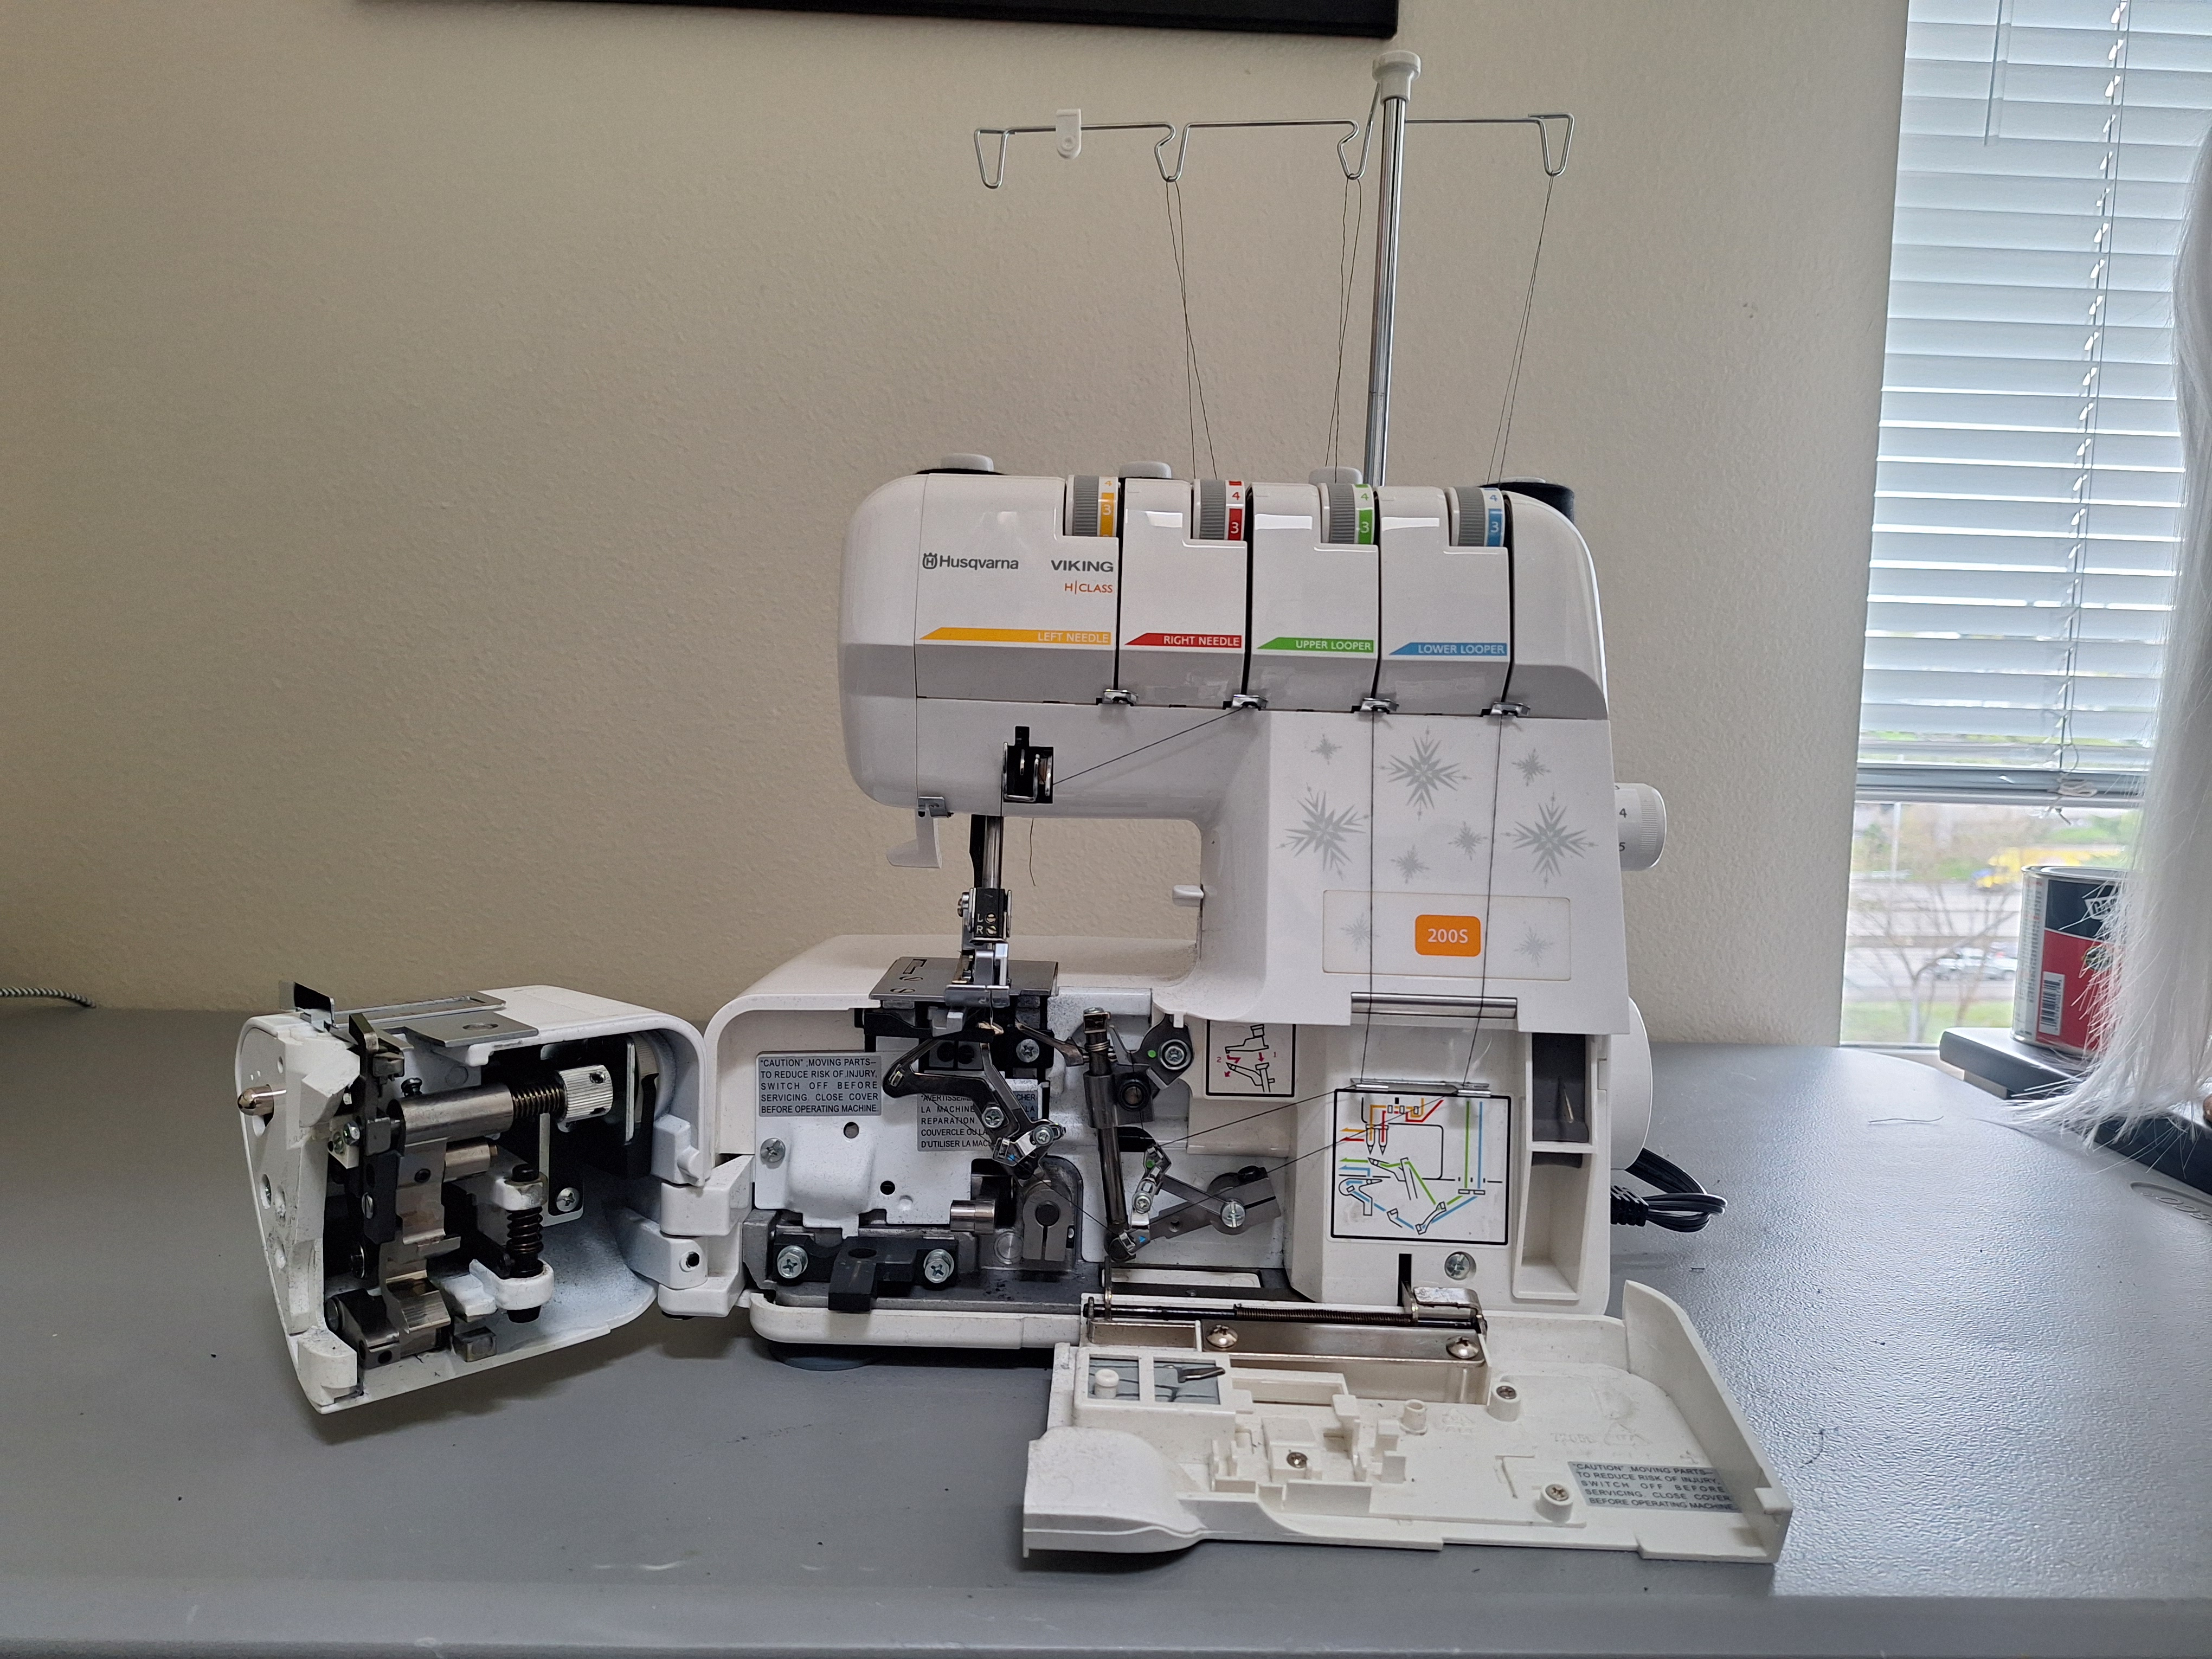 My 4-thread (currently using 3 threads) Husqvarna Viking H|Class 200S serger
Well, this machine kept jamming. Whenever I tried to sew, the threads would get caught and end up in a mess. If this happens, I cut the threads and start over, but it kept happening. It was time to engage in debugging.
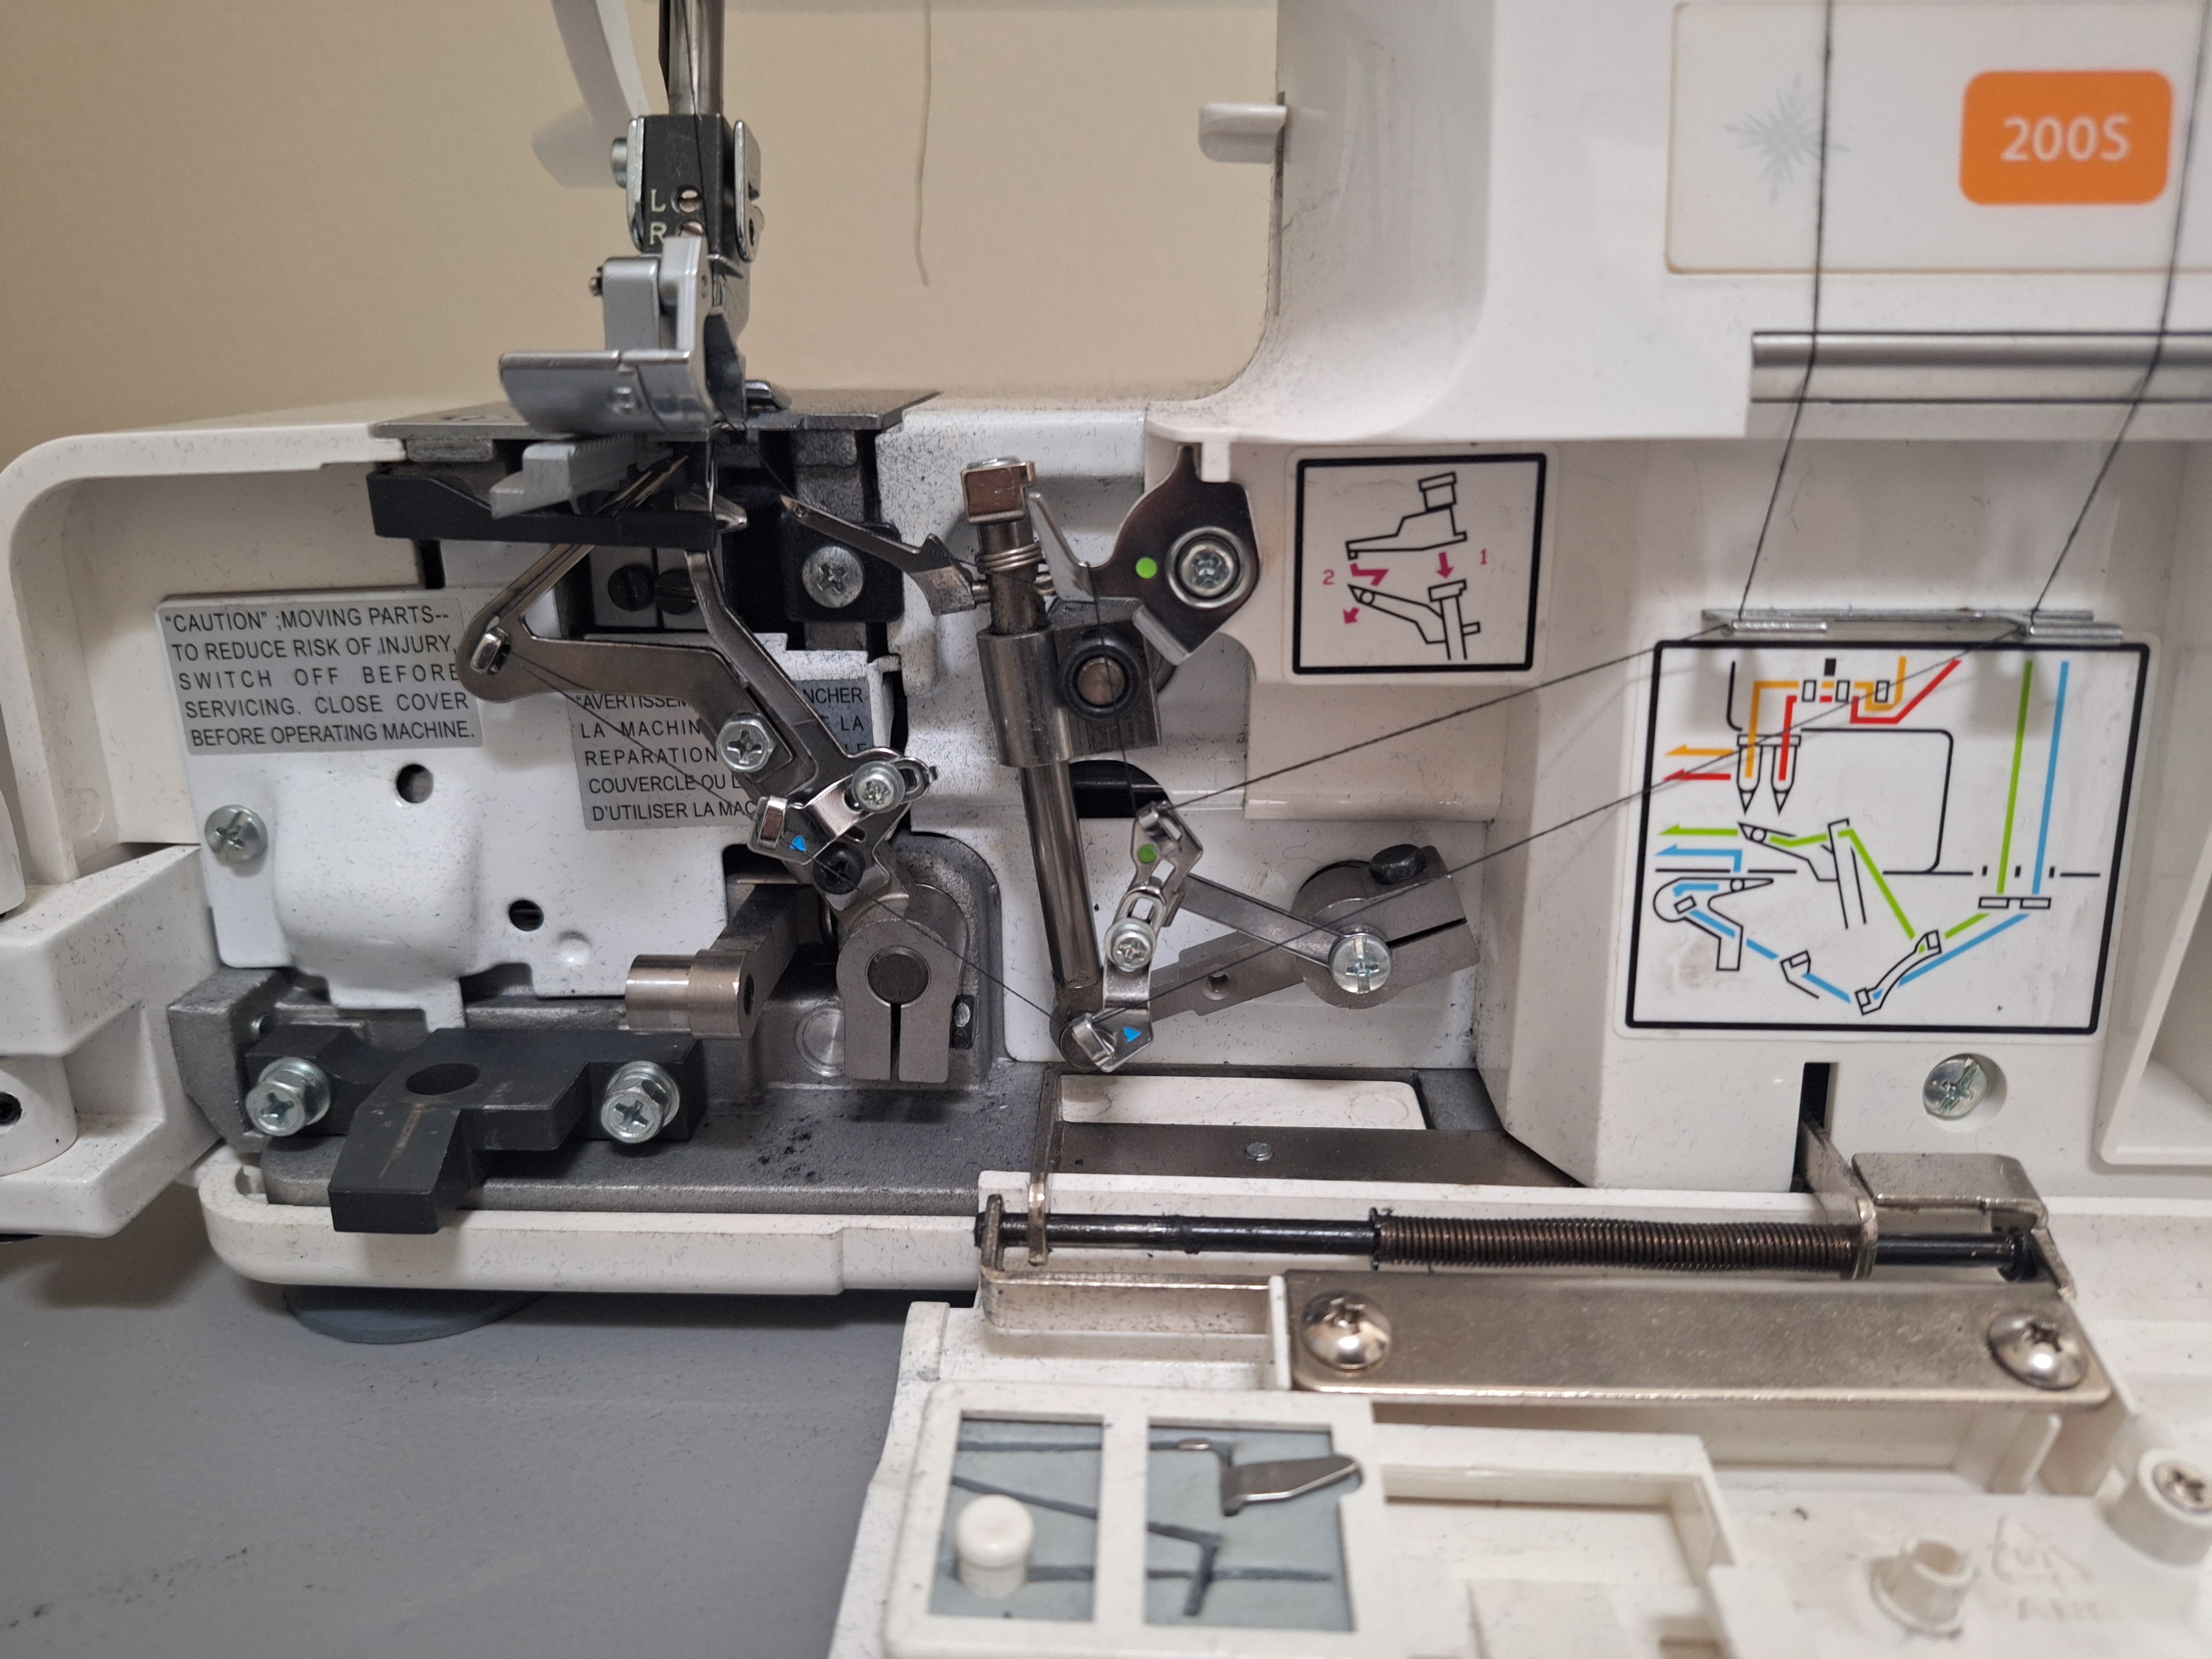 The front pannels swing open so you can get a good look insde.
Friday was the start of a new quarter and thus, the start of a new Intro to Programming course. On the first day, I go through debugging techniques. As I worked through getting my serger to work, I noticed that what I was doing was similar to my tips for debugging:

On my machine, the threads have a specific sequence. I start from right to left, checking that the first steps are not causing any issues: the hook at the top, followed by the tension disks. You can’t tell just by looking if the thread is under tension unless you pull it; this is an easy place to miss. That’s why you should check for issues in the beginning of your code (or thread path), because it can mess up parts down the line.
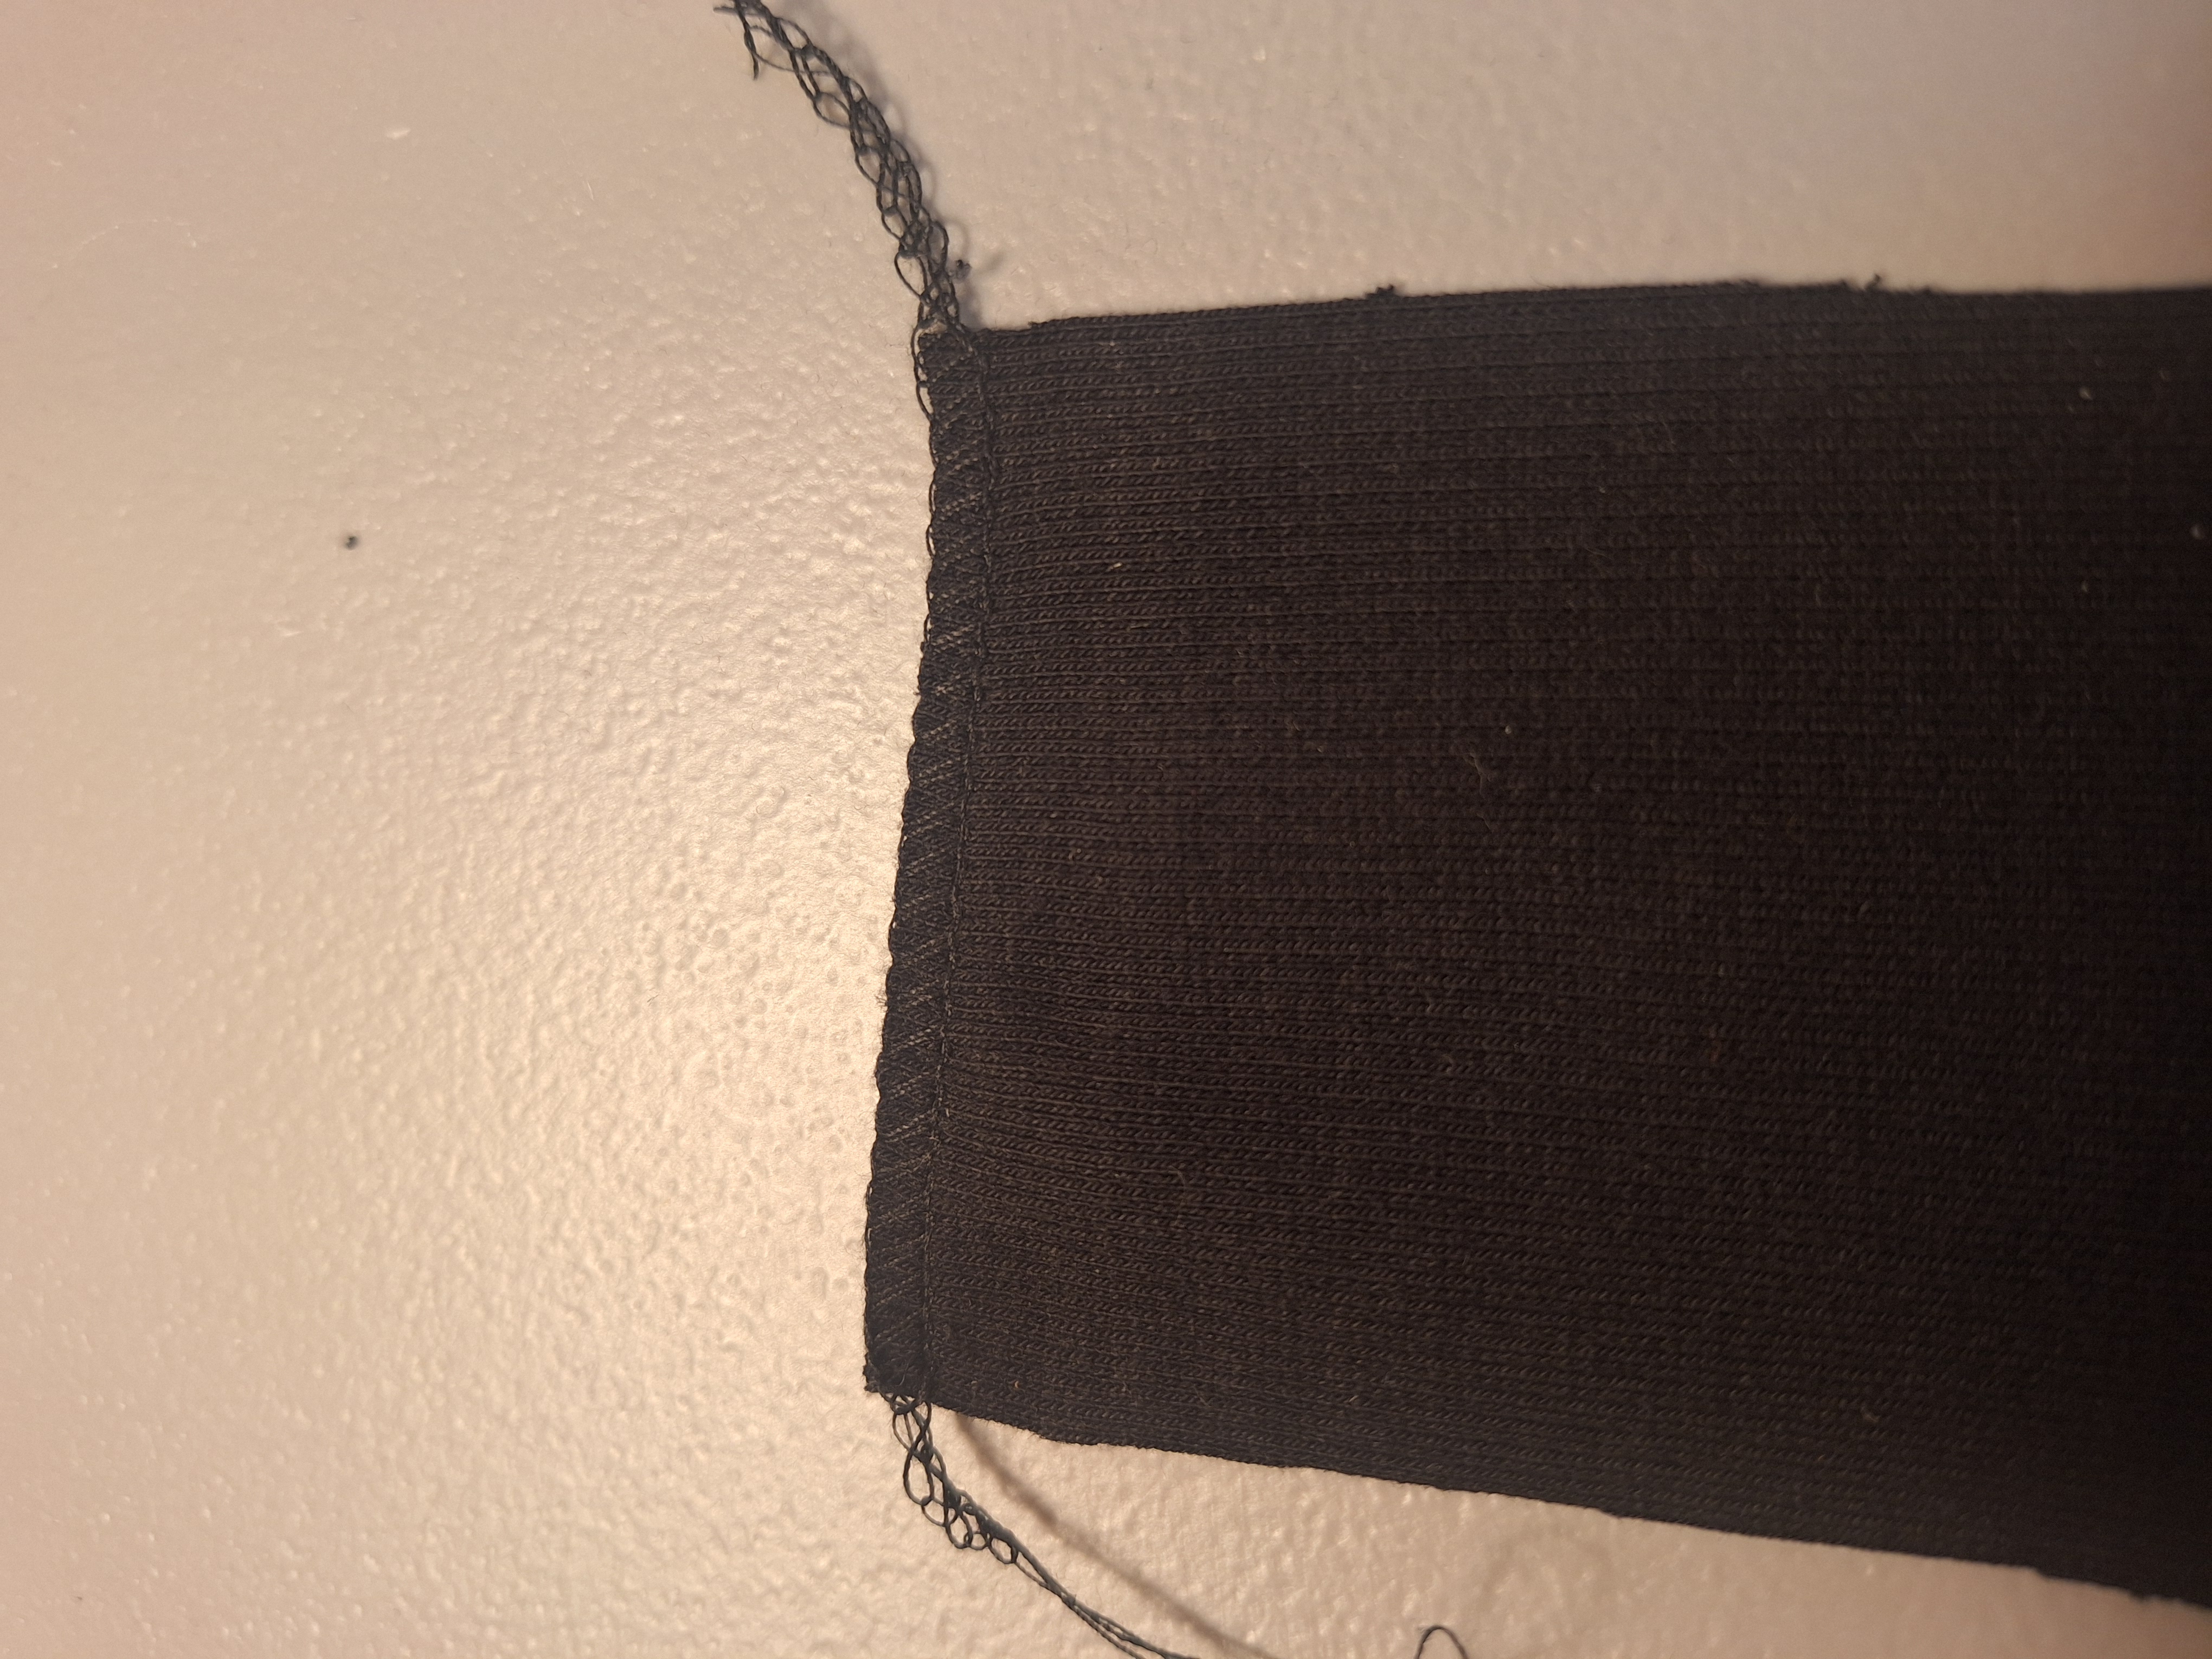
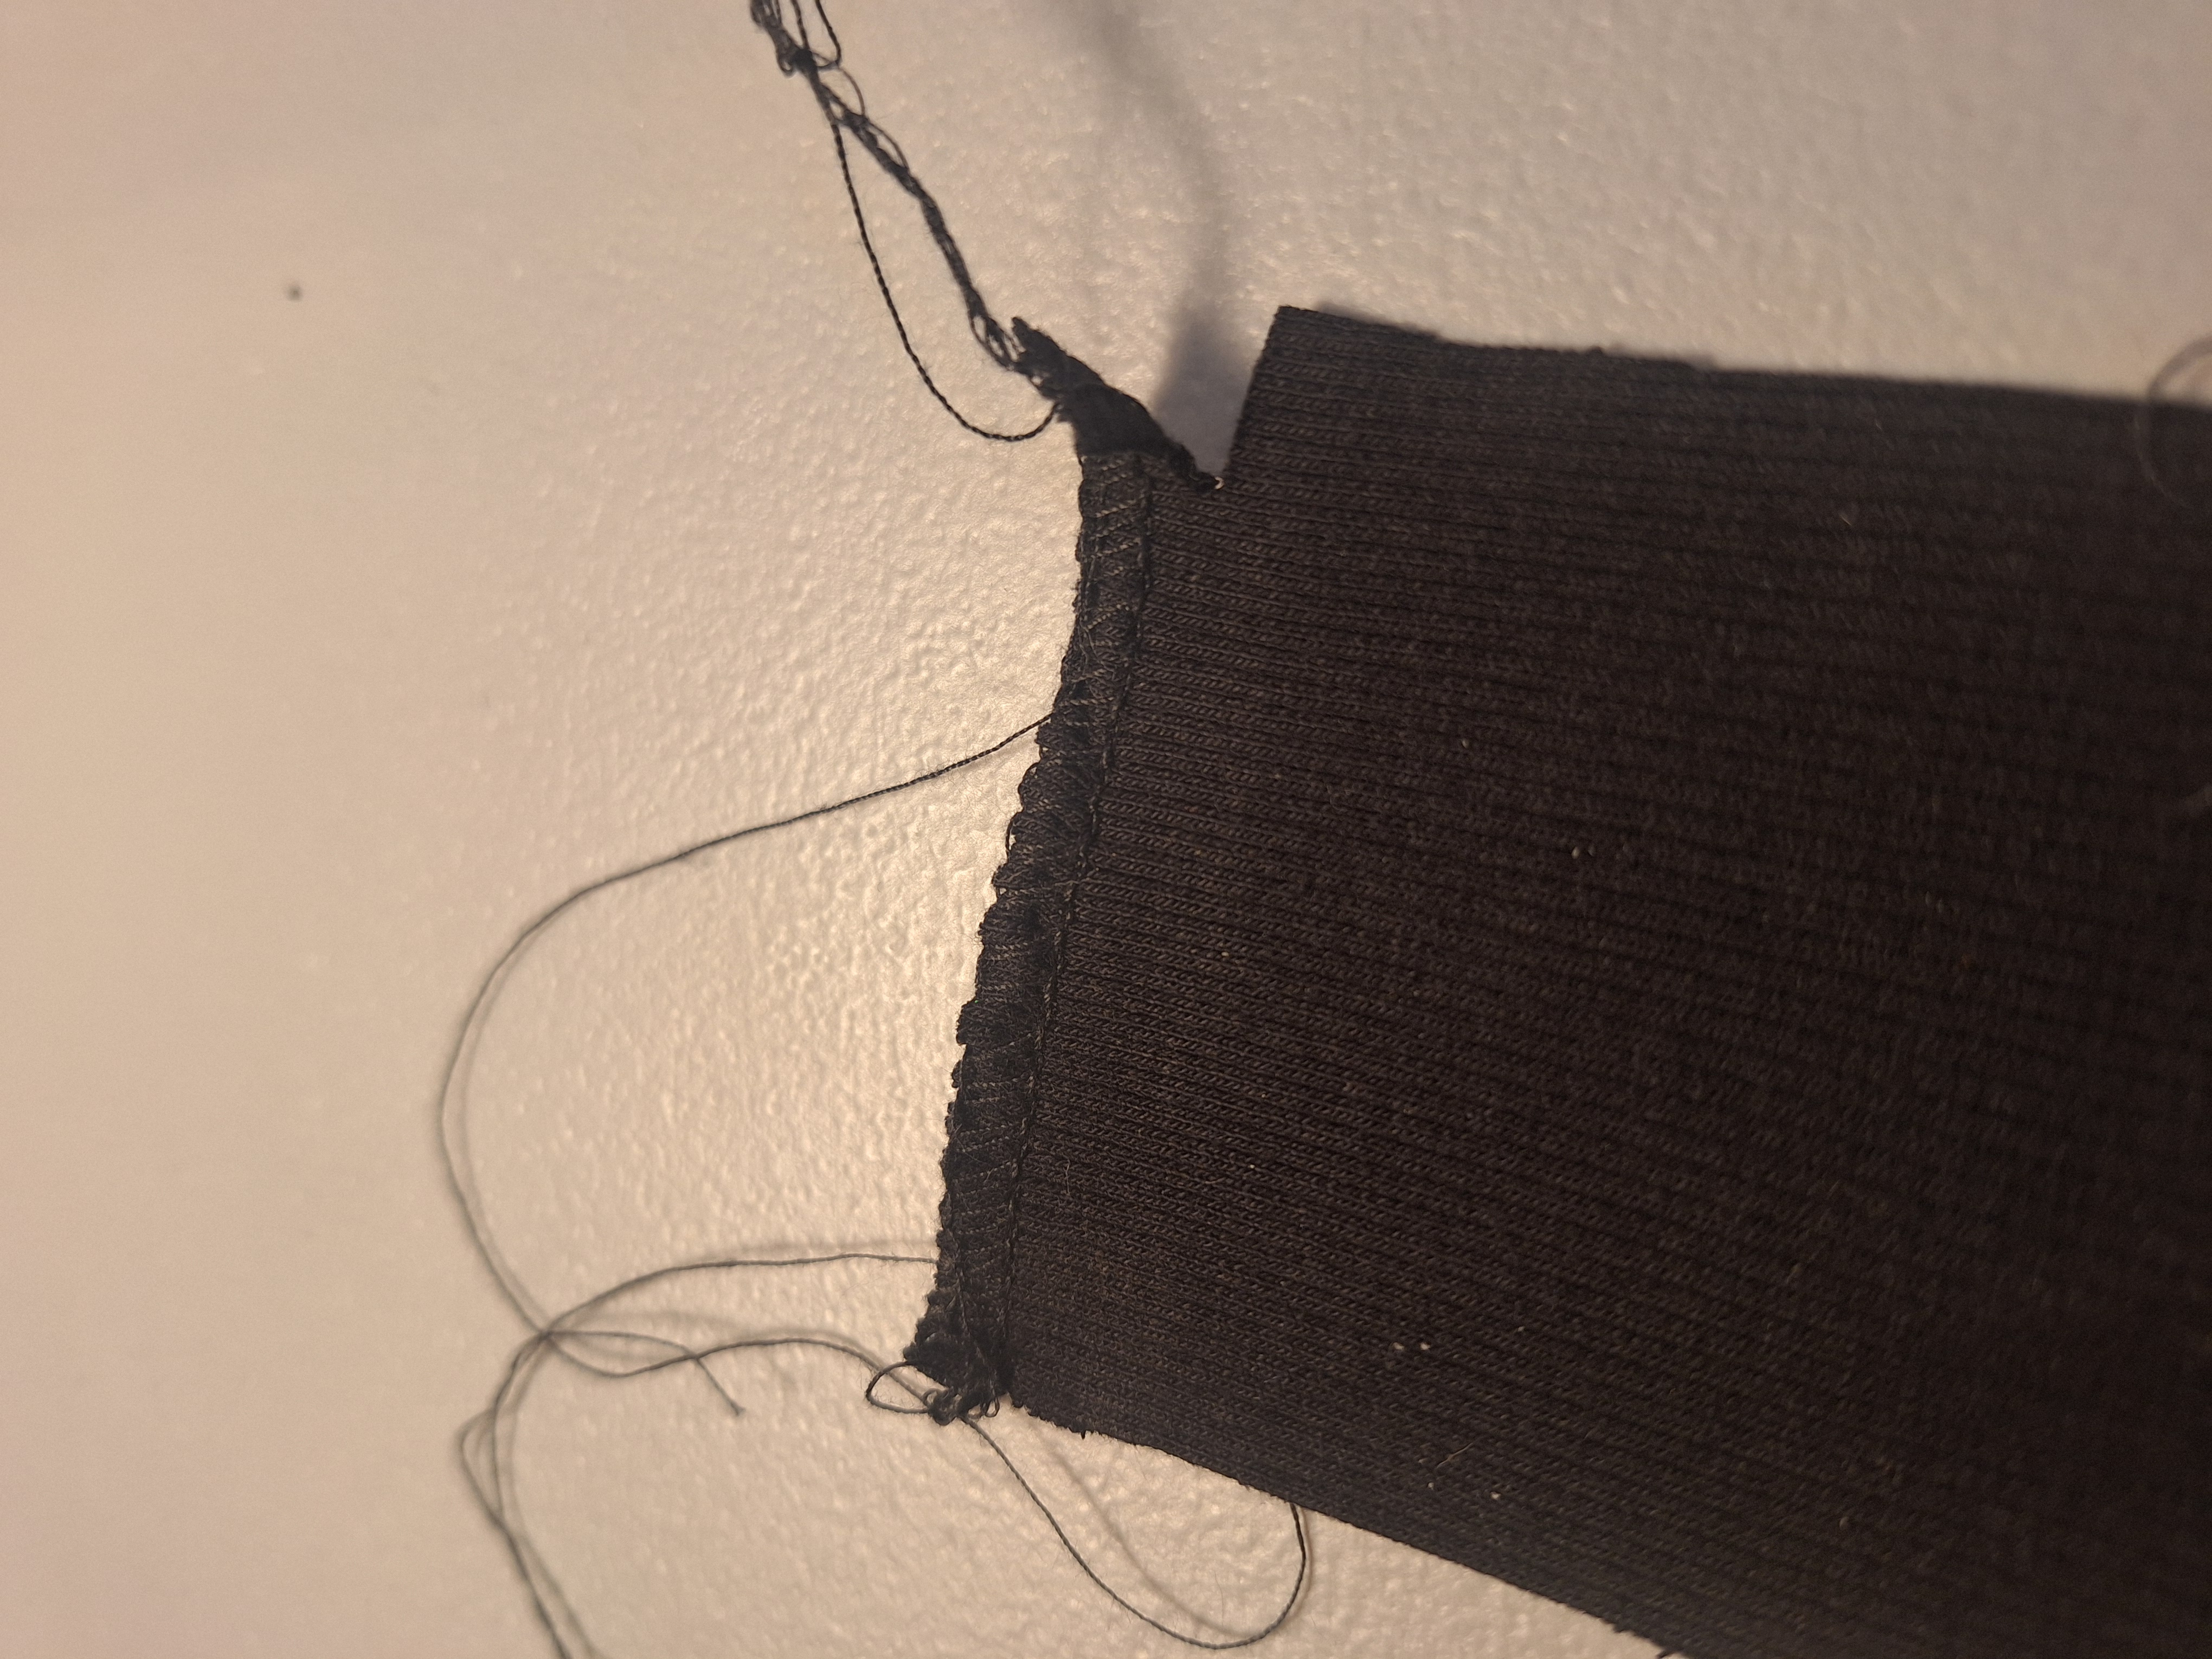 At first glance it looks okay, but its not nice and flat like it should be
My regular sewing machine will provide me with error messages for when I’ve run out of thread (top thread AND bobbin!), or when the motor is overworked because the needle couldn’t get through the material. Unfortunately, my serger does not offer any sort of assistance. That’s alright! There were other things I could try.
When using only one needle, you need to make sure it’s in the correct slot!
The type of stitch I wanted was a narrow, 3-thread overlock. So to “read my code” I went through and traced every thread through every component. I finally noticed something: when the thread came to the needle, I noticed that the needle was in the left needle slot instead of the right! The stitch was coming out mostly correct, but I did notice that it was wider than I wanted. A logic error! The machine was outputting exactly what I told it to do: if the left needle is used, the stitch will be further away from the edge. Else, the stitch will be closer to the edge.
(I was actually using the right side thread but the left side needle 🤦♀️).
While this doesn’t perfectly map to serger troubleshooting, the idea still fits. When something’s wrong, it’s easier to just pull all the threads out and re-thread from the beginning. Since each step depends on the last, skipping ahead usually causes more issues, just like in code.
I’ll show my friends progress pictures and get their opinion. “What do you think of the length of the sleeves?” or “Which color ribbon looks better?”. This is more design than debugging, but getting help from others is a great way to learn.
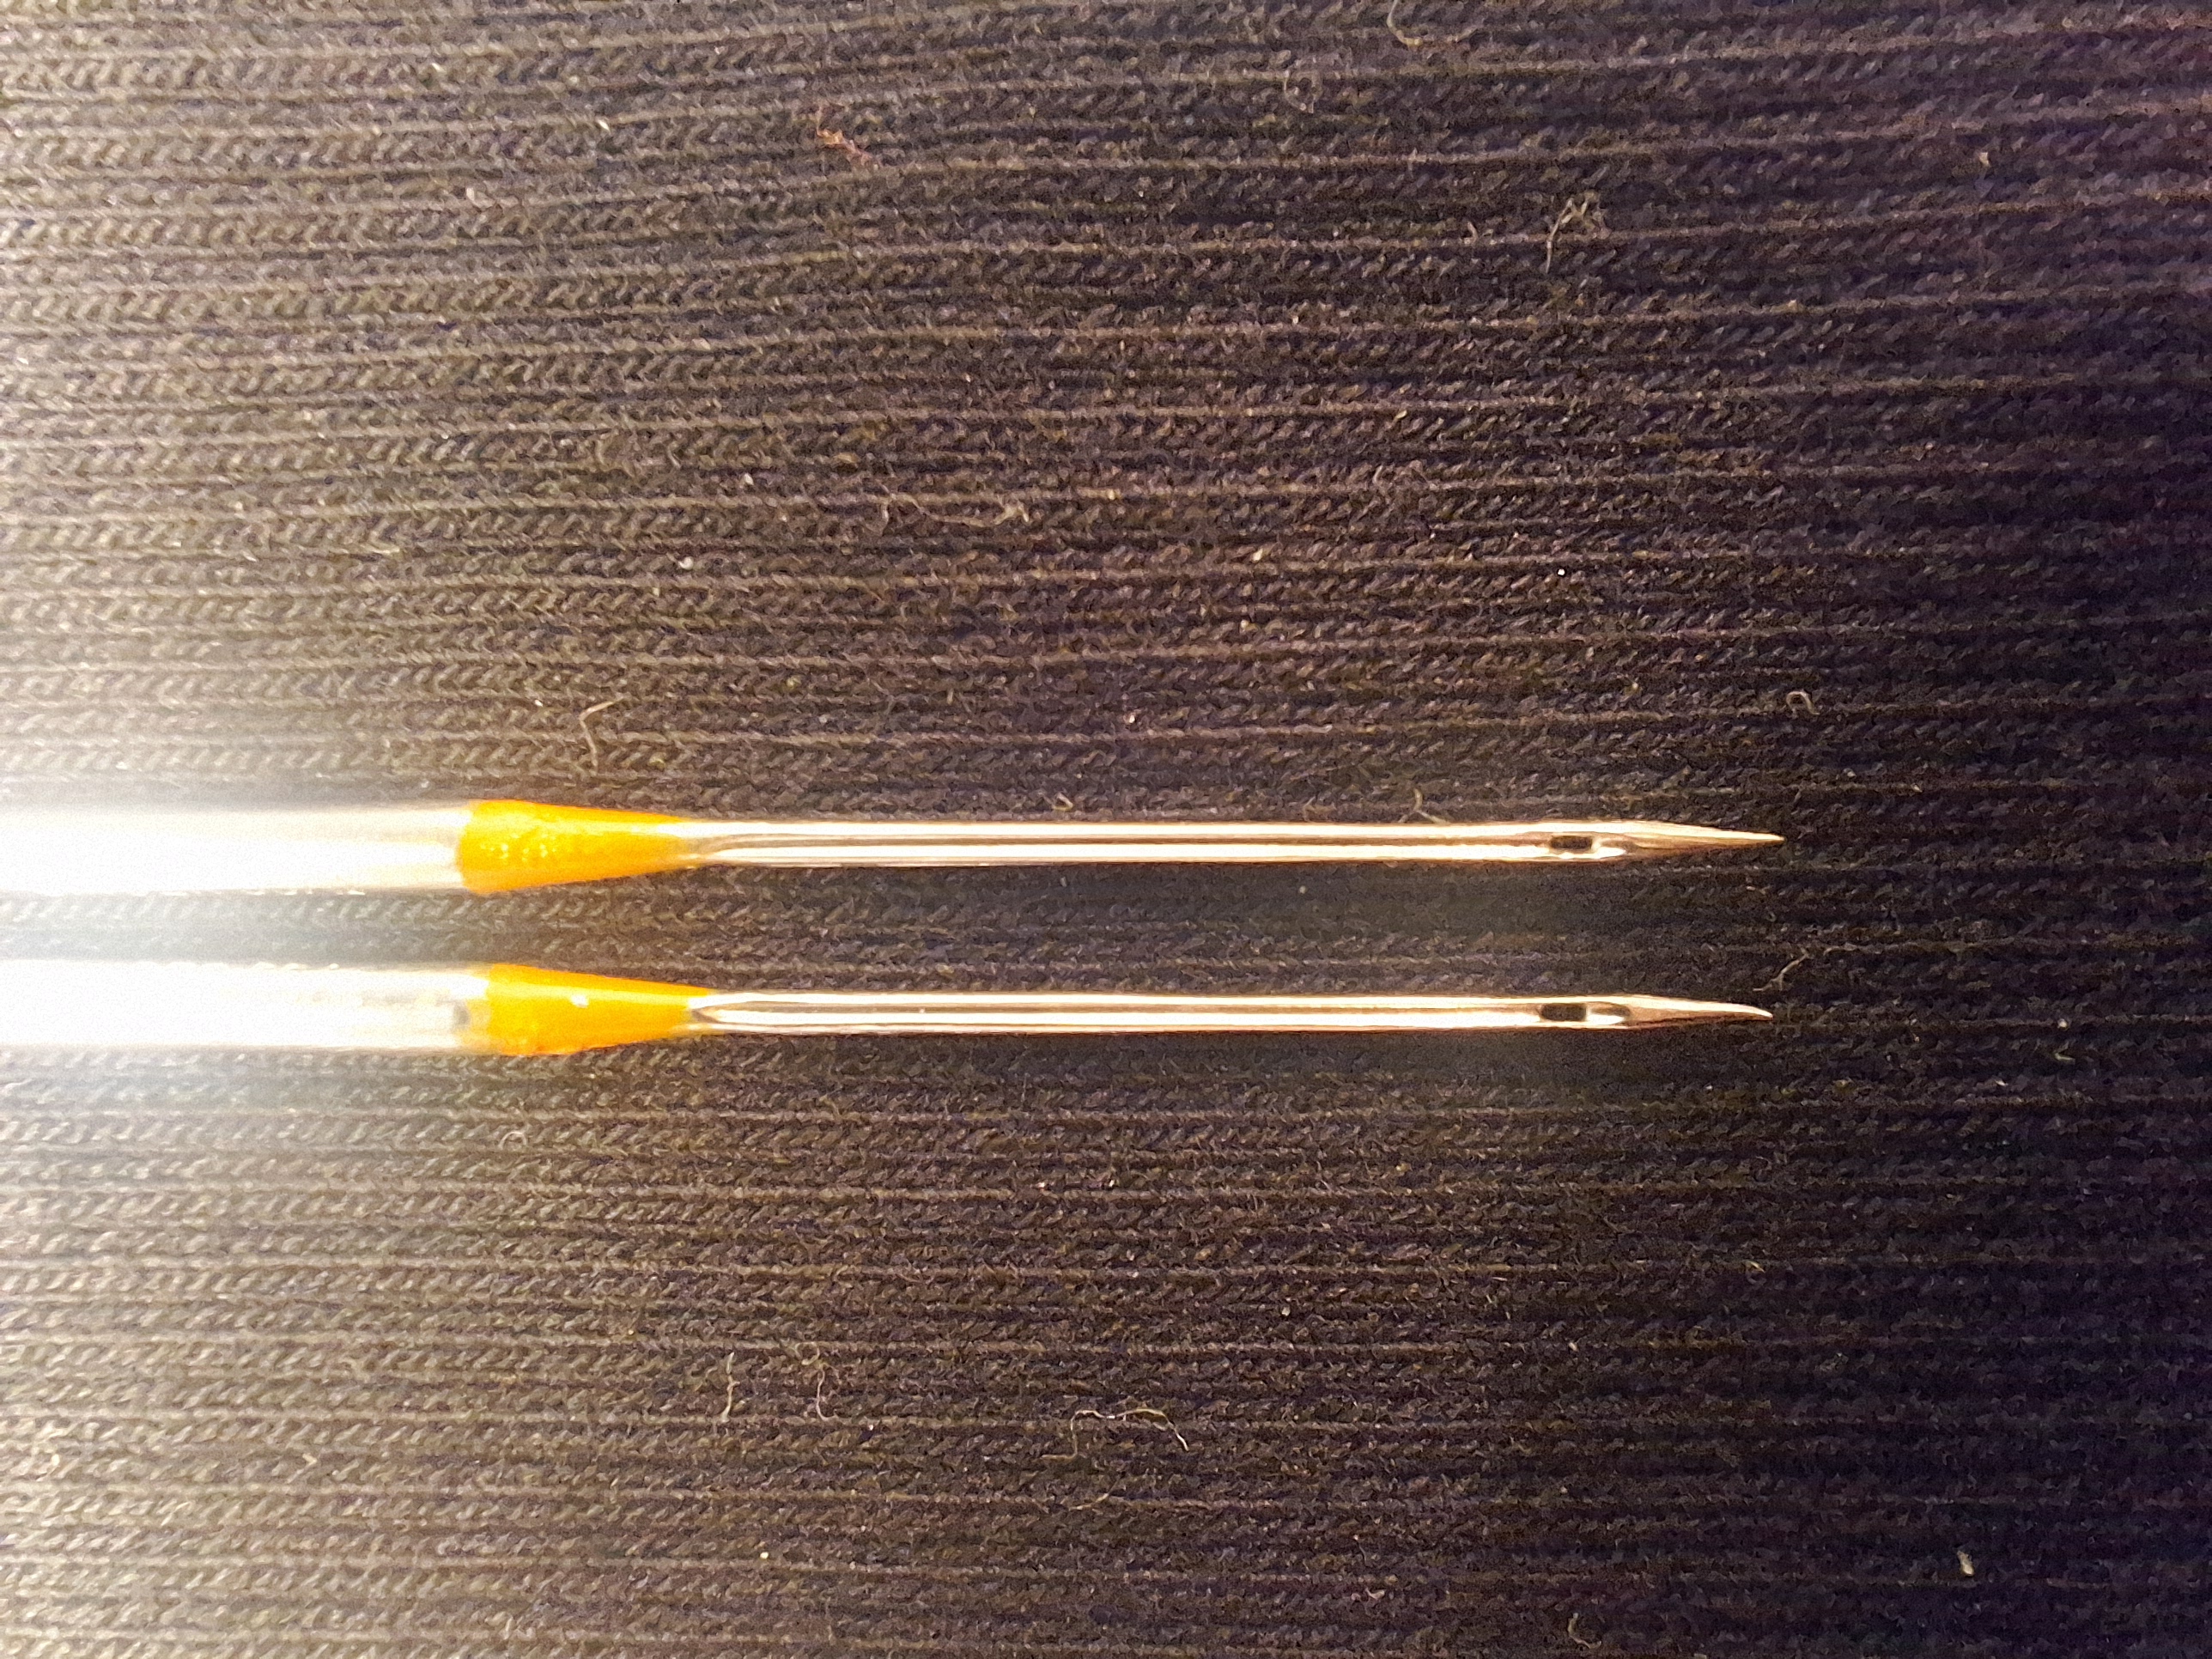 The needle on the right is slightly bent and not pointy
Almost! After correct threading, putting the needle on the correct side, I noticed one tiny detail: the needle’s point wasn’t sharp. This was not something that I look at when I have a problem with the machine jamming. Sometimes you can go through all the checks, all the steps, and you’ll have to think outside the box. Think like a programmer. Look at other possiblities.
Finally! We’re back in business.
Debugging isn’t glamorous, but it’s where most of the learning happens - whether you’re stitching fabric or stitching logic. The patience, the process, and the problem-solving are what make both crafts so rewarding.
Whether I’m at a keyboard or behind my sewing machine, I spend most of my time not in the act of creating, but in the act of fixing. Debugging, testing, twea...
Iterative testing. Getting the customer involved early and often. These key ideas are not only frequently mentioned but thoroughly explained in books about a...
It all started with a need. I attend weekly tech meetups and often share event details on Discord with my group. But as the list grew, keeping things organiz...
Eric Ries 2011
Jake Knapp, John Zeratsky, Braden Kowitz 2016
Andrew Stellman & Jennifer Greene 2014
What is this ‘Maker Faire?’
Getting the thoughts out there - using Lucidchart
What’s the least amount of (and most important) features we need to make for the design so that we can start testing?
How do you know when to stop? We discussed the research that our group has been working on. Two students are looking through the App Store and Google Play St...
AI/Tech Coffee Social ☕
Friday Team Meeting #1 - Online edition
Tuesday Team Meeting #2: Getting the hang of it
Monday Meeting #2: Reconvening after our First Full Week of Work
Maja Dakic 2023
Jeff Gothelf & Josh Seiden 2021
John Whalen, PhD. 2019